

Emerald has inward opening ports, held open by a hook hanging down from the ceiling. There are 14 of them in all, which with most of them open in the summer provide plenty of entry points for small, evil buzzy, biting mosquitoes.
I made the first version of the boat mosquito screens from wire, bent into the shape of the inside of the porthole with netting fastened around the frame. However, they didn’t really stand the test of time. The wire became misshapen and either fell out or left big gaps for the blighters to find their way in.


So, I designed an improved mosquito screen and after three seasons they are still looking in good condition. Read on for instructions on how to make them.
Materials Required
- A helper for holding and measuring.
- Metal ruler for measuring and providing a straight line guide to cut against.
- Pen / pencil.
- Scissors.
- Craft knife.
- Cutting board (a piece of wood will do, it just needs to be something to cut on where it doesn’t matter if it gets cuts in it)
- Frame material. The frame is made from Forex foam board, ordered on line from Ebay. I found 3mm to be a good thickness as it holds it’s shape yet can be cut with a craft knife. It can also be sewn through using a sewing machine. The board will get dirty as it lies against the outside of the hull, but it can be washed using soap and water. I ordered sheets that would allow two screens per sheet as this was a size that gave good price breaks but wasn’t oversized for posting.
- Netting – We chose white standard mosquito netting. It can be also be washed to stop it getting grubby.
- Sewing machine that is capable of sewing thick fabric. (It may be possible to glue the netting to the board but we haven’t tried this). I used a vintage Singer 201K sewing machine.
- V69 thread performs well against UV as the stitching is going to be hit by the sun’s rays.
- A strong sewing machine needle – I used size 16.
- Masking tape.
- A sharp, pointy object for making the holes for the string. We used an electric drill but anything sharp and pointy will do.
- Sturdy string.
Instructions
- Measure the outside area of your frame. You need a decent overlap beyond the open part of the porthole, we chose to go to the outside of the bronze frame. You also need to know the width of the frame, so for us we measured the width of the bronze from the outer edge to the inner edge.

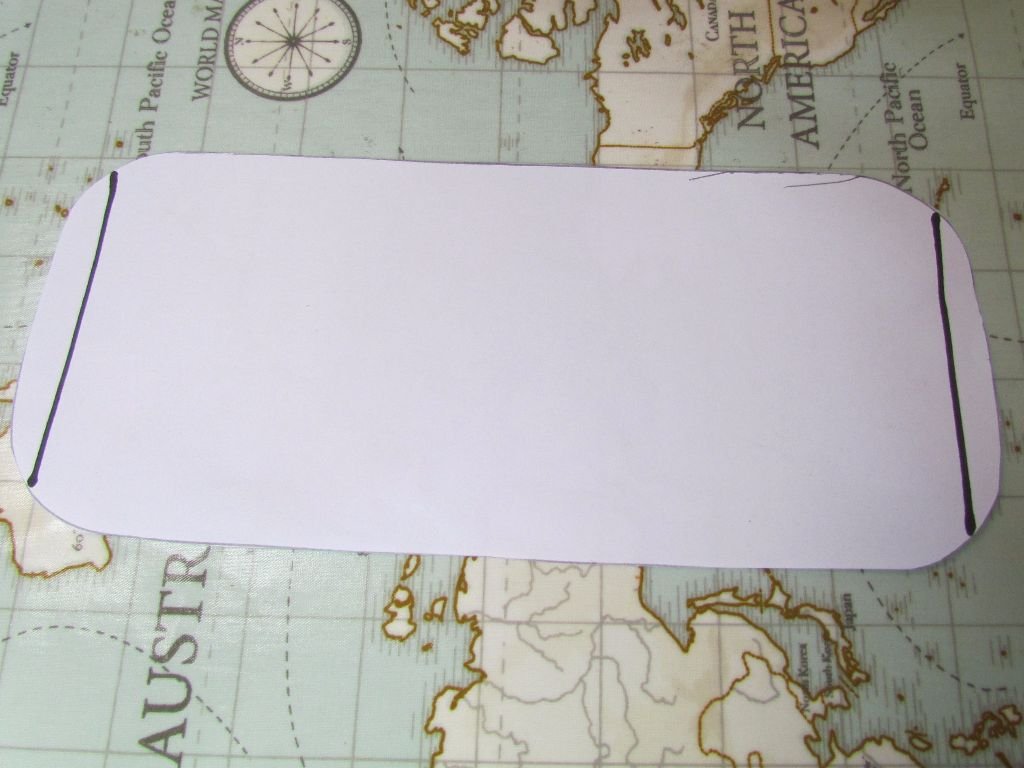
2. Create a template for the open part of the window: get your helper to hold a piece of paper against the outside of the port with a book behind it to give something firm to press against. From the inside draw around the shape of the window onto the paper, then cut around your marks to give you the template.

3. On the paper template, draw two lines down each of the sides, 10mm in from the edge, this will be for the small overlap for the holes where the string will tie. Cut down the lines to complete the window template.
4. On the Forex board, draw the outer dimensions of your screen with the paper template for the hole placed in the correct spot. We also chose to give the frame curved corners to match the shape of our portholes.


Cut and Sew
5. Using the craft knife and a metal ruler for guidance, cut out the frame and the inner hole.
6. Next, mark where the 2 string holes will go along each side of the window hole, approx. 5mm in from the edge. It will depend on the height of your window, but we placed the holes 65mm apart.
7. Using the paper template, cut out the netting for each port – it needs to have a good overlap beyond the paper template.
8. Place the netting over the cut board and hold it in place with masking tape.
9. Sew the netting in place.

Add String for Hanging
10. Make the string holes, piercing through both the board and the net using three pieces of string:
- The first two pieces are the same length, approx. 220mm. However, this may vary on the size of your ports.
- The length of the third piece will depend on the distance between the window and the hook that holds the window open – it might need a bit bit of trial and error.
- Next, push the ends of a smaller piece of string through the two holes on one side from the inside to the outside of the frame. Tie off each end in a stopper knot. These will form the loops to tie the longer string to.
- Tie each end of the longer piece of string to each of the frame loops.
- Fit the frame and adjust the string as needed – once one is in position you’ve got your string length for all the others.


Job done! Repeat for all your other ports 🙂