Last summer we had to say farewell to Crazy Pony the dinghy whose glue had given up the ghost in the sun and heat. It was replaced by Crazy Horse, a slightly bigger model and this time made of hypalon fabric.
Hypalon stands up much better to the sun than a PVC dinghy so there was no immediate need for dinghy chaps, however we decided we would make a set at some point, mainly to help keep the dinghy clean.
I had already bought some Weathermax fabric last winter as we knew Crazy Pony was on it’s last legs and a new dinghy would have to come along at some point meaning new chaps would also be needed.
I can’t say I overly enjoyed making the chaps. These are the second set and I’m hoping it’s a long, long time before I have to make any more. The weather hasn’t helped much either – we’ve had day after day and week after week of westerly winds that make patterning and checking the covers for fit a pain. An octopus might have managed with all those arms to hold down the flapping fabric but I was scuppered having only two, so what should have been a week or so job dragged out over longer than a month as I waited for calm weather days.
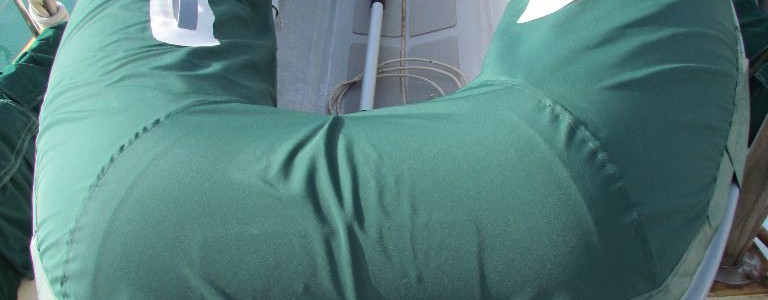
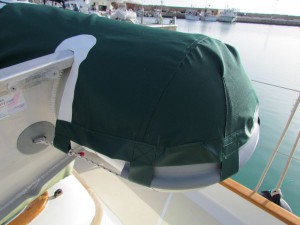
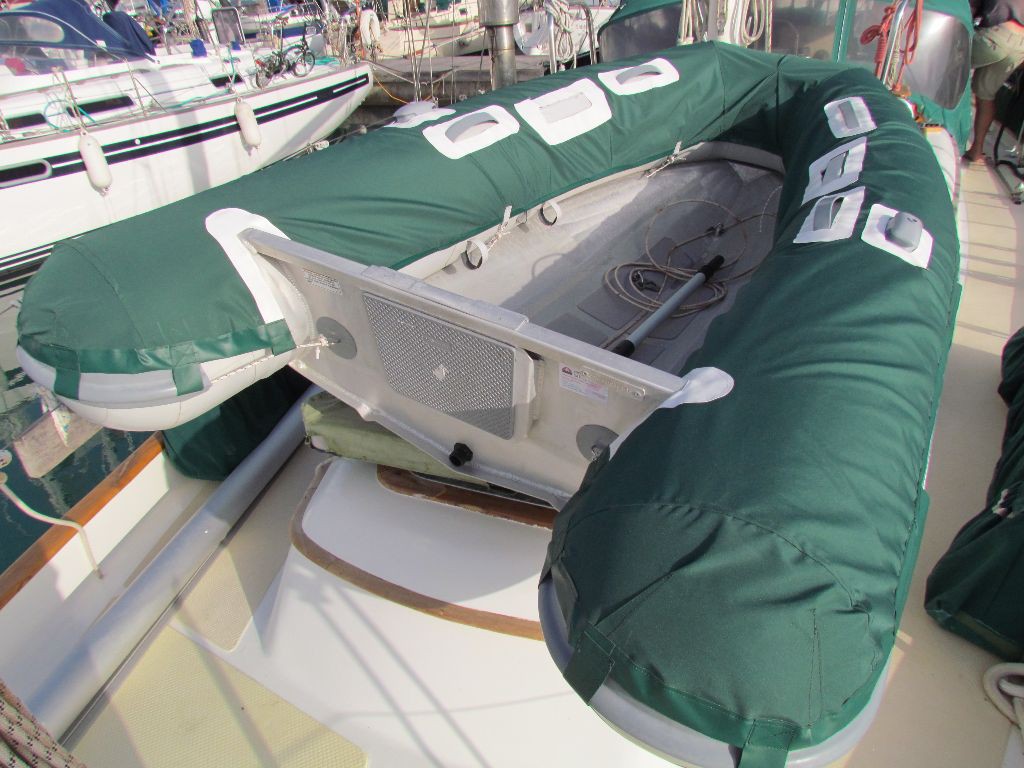
But now they are finished! Made up of three large panels – one down each side and one on the bow – and two smaller panels over each of the tube ends, patterning was achieved using clear plastic bought from a local hardware shop. Cut outs around the row locks, handles and seat holder were reinforced using PVC. PVC reinforcing was also sewn on around the outer and inner hems.
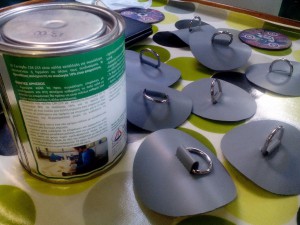
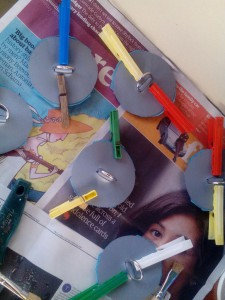
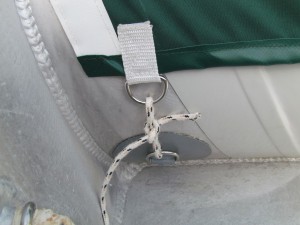
When it came to holding the the covers on, we found we had far less attachment points on the AB than on our old Excel. We chose to make our own D-ring patches that would then be glued onto the dinghy. Using a large sheet of hypalon fabric bought off of Ebay for £30 we cut out the 8 circular patches and glued in the D-rings using hypalon glue as a first step. Next was glueing onto the dinghy itself although it really didn’t feel right taking sandpaper to our almost new dinghy! Webbing tabs would hold the D-rings onto the covers.
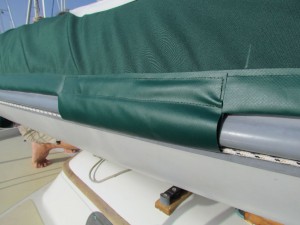
The D-rings allowed us to fasten the covers in on the inside, we also needed to anchor the cover around the outside. We didn’t want to use Velcro so instead chose to utilise the raised bumper around the edge of dinghy. It has a lip with a recess underneath it to which we reckoned we could attach clips. However, when it came to testing out the clips, we weren’t left feeling very positive that they would stay in place when under way. Also, after speaking to another cruiser who had used the clips we had concerns about how they would fare when the dinghy rubbed up against rough walls or against the hull of a boat. Because the clips sit a fair way proud of the rubber bumper they are negating the bumper’s job and would end up taking all the wear.
So time for some thinking! Our favourite idea was to use rope or shockcord to sit under the bumper’s lip snugged up inside the recess. We then needed some way to attach this cord to the covers. I was reluctant to make a fabric tunnel that went the whole way around the dinghy as again this fabric would end up taking all the wear when the dinghy rubbed against something. We would need some tough fabric such as PVC and when I tried a section out it just didn’t sit very well into the recess.
So instead of an all the way around tunnel we decided on sections of tunnel. These would be long enough to give a good attachment between cord and cover but not so long that they wouldn’t sit properly in the recess or get too damaged from wear.
We went for rope instead of shockcord around the outside in the end as there was less give in the rope. The covers haven’t been tested in action under way with the outboard on yet but we have done a fair bit of pinging the rope and it seems to stay in place. Fingers crossed!
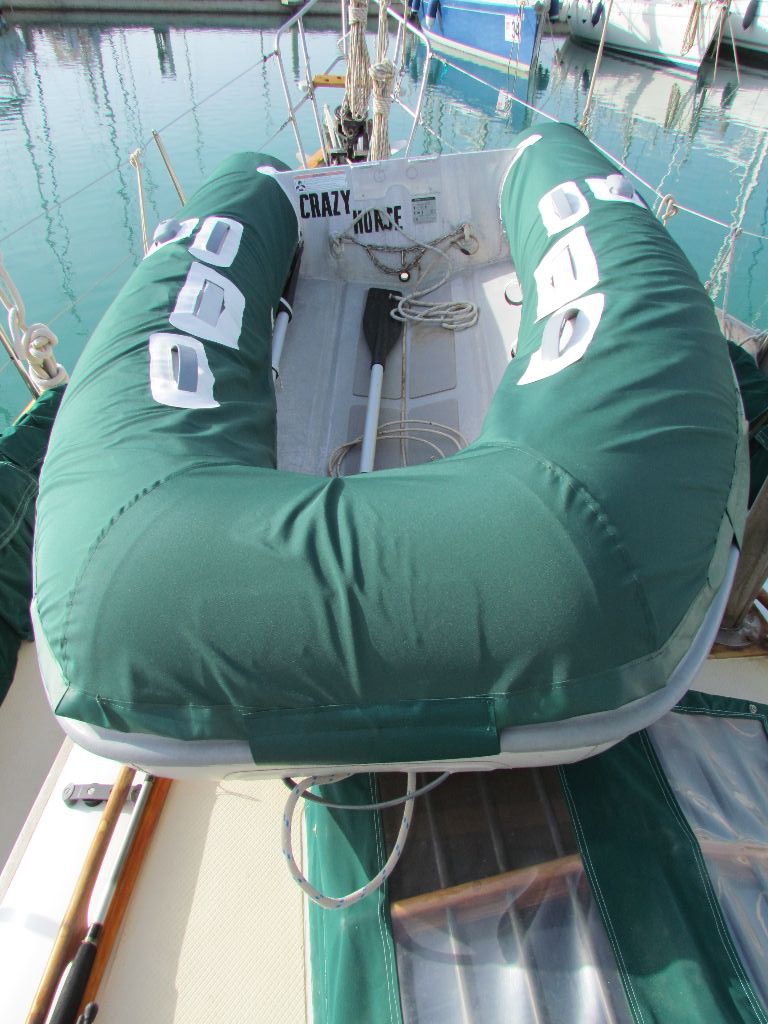
Here’s the finished article – a bit wrinkly but I’m happy with it:

