
The Headlining
We were lucky last summer to not have too many breakages or things wearing out which meant when it came to winter jobs we could get on with the cosmetic jobs that are usually bumped down the never-ending job list.

Back in the eons of time we decided to do something with our headlining. Given Emerald’s age and being our full time home meant the headlining was becoming grubby. The fabric used has a textured weave to it with lots of tiny nooks and crannies into which the mold spore critters loved to snuggle down in the cold and damp winters of the UK. Above the galley the airbourne debris from cooking has turned the once white headlining an unpleasant shade of beige and the general dirt and dust of life also seemed to like making a home up there. And it was a bugger to clean out.
Replacing the headlining was not an option – during Emerald’s construction the fabric had been glued onto the fibreglass and all the wooden trim around the ceiling was then fastened on top. We could cut the old fabric out along the edge of the trim but we would never get a neat job in laying new headlining as we wouldn’t be able to tuck it in under the teak trim. Why not remove the teak trim? If you saw how much trim there was and the long lengths of teak involved, that we would never be able replace if they were damaged whilst being removed, would answer that question.

The most sensible solution seemed to be to paint the headlining. We chose a paint that was suitable for painting on vinyl with an off white colour and painted the head ceiling first as this suffered the most from mold. The paint seemed to do the job, filling in the weave a bit and leaving less space for the mold spores to make a home. We moved on to painting the forepeak ceiling and the aft cabin. The boat looked much brighter in these areas and we were pleased with the painting idea.
Unfortunately we made a boo-boo in paint choice. Although the paint dried in that you could touch it and you’re fingers wouldn’t go white, the paint stayed sticky, especially when it was damp or humid. If we splattered a mossie against the ceiling, the squashed remains of the bug would be forever stuck to the headlining reminding us of our victory but not particularly nice to look at. We both have long hair and loose strands would stick to the painted surface too and after a few years it was all looking grubby again. The paint had been water based and just wasn’t suitable for the marine environment.
So we decided to try again with an oil based paint. This has worked a treat – only one coat was needed and now there is no stickiness. Being a gloss it has given the aft cabin a lift, making it brighter and shinier. The paint has filled in the weave texture even more giving what few patches of mold we get, even less of a place to get a grip.
We now have to do the rest of the boat but need to find more paint!

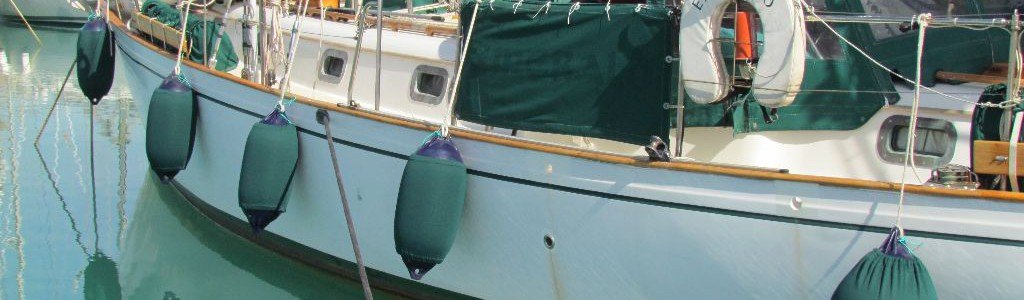
Fender Socks
When we bought Emerald she had had her hull painted at some point by a previous owner. This meant that if we left fenders rubbing against the hull they would slowly rub off the paint as they swung about with the motion of the boat.
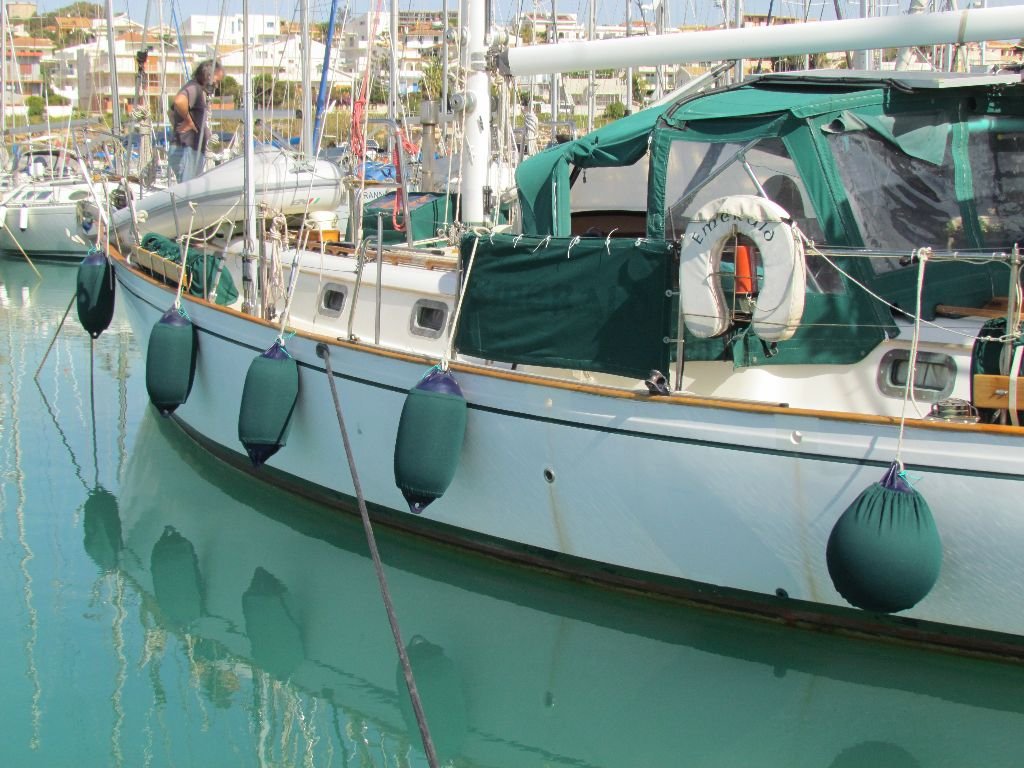
We needed fender socks! We make our own as we have large sized fenders and the ready made kits were a crazy cost to cover them all. The last set of socks I made from a stretch, ribbed, jersey fabric – like what you get on the cuffs of a sweater but in wider widths. The fabric lasted 5 years before the sun took its toll and it began to disintegrate and a couple of tie ups to concrete walls ripped some large tears in them.
Those fenders whose covers had gone we noticed were also going sticky in places from being in contact with the sun. Time for new socks.
I tried to buy the same fabric again but the previous manufacturer no longer made it in the widths I needed and I couldn’t find anyone else making the same, so I had to find an alternative. I’ve stuck with the jersey theme but this time the fabric I purchased also has a thin fleece lining which will lie against the fenders (they will be sooooo cosy and warm). The fabric has less stretch but has sewn up well. For £30 for 5m (it takes about 3.5m to make all the covers for 8 x F5 sized fenders and 2 big ball fenders) it is a fraction of the price of the kits. Hopefully we will get a similar lifespan to the previous fabric.
Electronic Bilge Switch
Automatic float switches for bilge pumps are an important part of the boat’s safety equipment and we rely on it to switch on in case of us taking on water. But it doesn’t have a happy life living amongst the ming and debris that floats around in the lowest levels of the boat, debris that can clog the switch and reduce it’s reliability.

We have decided to replace our old Rule float switch with a Water Witch electronic switch. When we took the Rule switch out it was completely clogged with oil and stuff and was slowly dissolving in the harsh environment. The Water Witch has no moving parts so can’t stick or get clogged.
Let There Be Light
A lovely green glass lampshade given to us by Yuri and Yulia had been sitting in a cupboard for a good 6 years waiting to be installed. We had an idea of where it would go but just never got round to fitting it. And now we have it the light available is so much better than that given out by the ceiling lights in the forepeak.
I just need some new cactus for my mirror pot now as they keep dying 🙁
