

This blog reviews our issues and experiences having decided to try and rebuild our water damaged boat engine.
How did we end up in that situation? Well in June 2022, during a four day passage between Portugal and Porto Santo, sea water found its way inside the engine. It sloshed around for several days and the result was an engine that wouldn’t start. Initially we were successful in getting the pistons moving again, but there was further damage deep inside the engine block where rust had had time to do its worst. The previous blog discussed our options to resolve the problem, which boiled down to repair or replace. We chose the latter, and now, with the rebuild almost complete, it’s a good time for a look back at our experience.
Why Did We Choose to Rebuild?
We made our decision motivated mostly by our financial situation, given that the alternatives would have taken a huge bite out of our savings. Also, time was on our side: the boatyard in Porto Santo was affordable and we were heading into the autumn/winter season, a period when we wouldn’t usually be sailing.
Several months on, although we still stand by our decision, we have rued it many times. But, regardless of whether the engine runs again, we’ll know that at least we tried to fix it. Even if then we have to fall back on to replacement, we tried.
Replacement seems to be the option most people would have taken. If we had £10 for everyone who has wandered by or commented online and said something along the lines of “I know someone who just replaced their engine when this happened”, we’d almost have enough for a brand new one by now! But maybe those people have a smaller boat or better financial resources. At the end of the day it doesn’t matter, we made our decision for us and our circumstances.
Plus, as I write this there is still the potential that the engine works again. Can you imagine how we’ll feel then, knowing it was fixed by our own hands?
The Issues We’ve Faced
The issues we’ve faced fall broadly into the following categories:
Our Inexperience and Lack of Knowledge
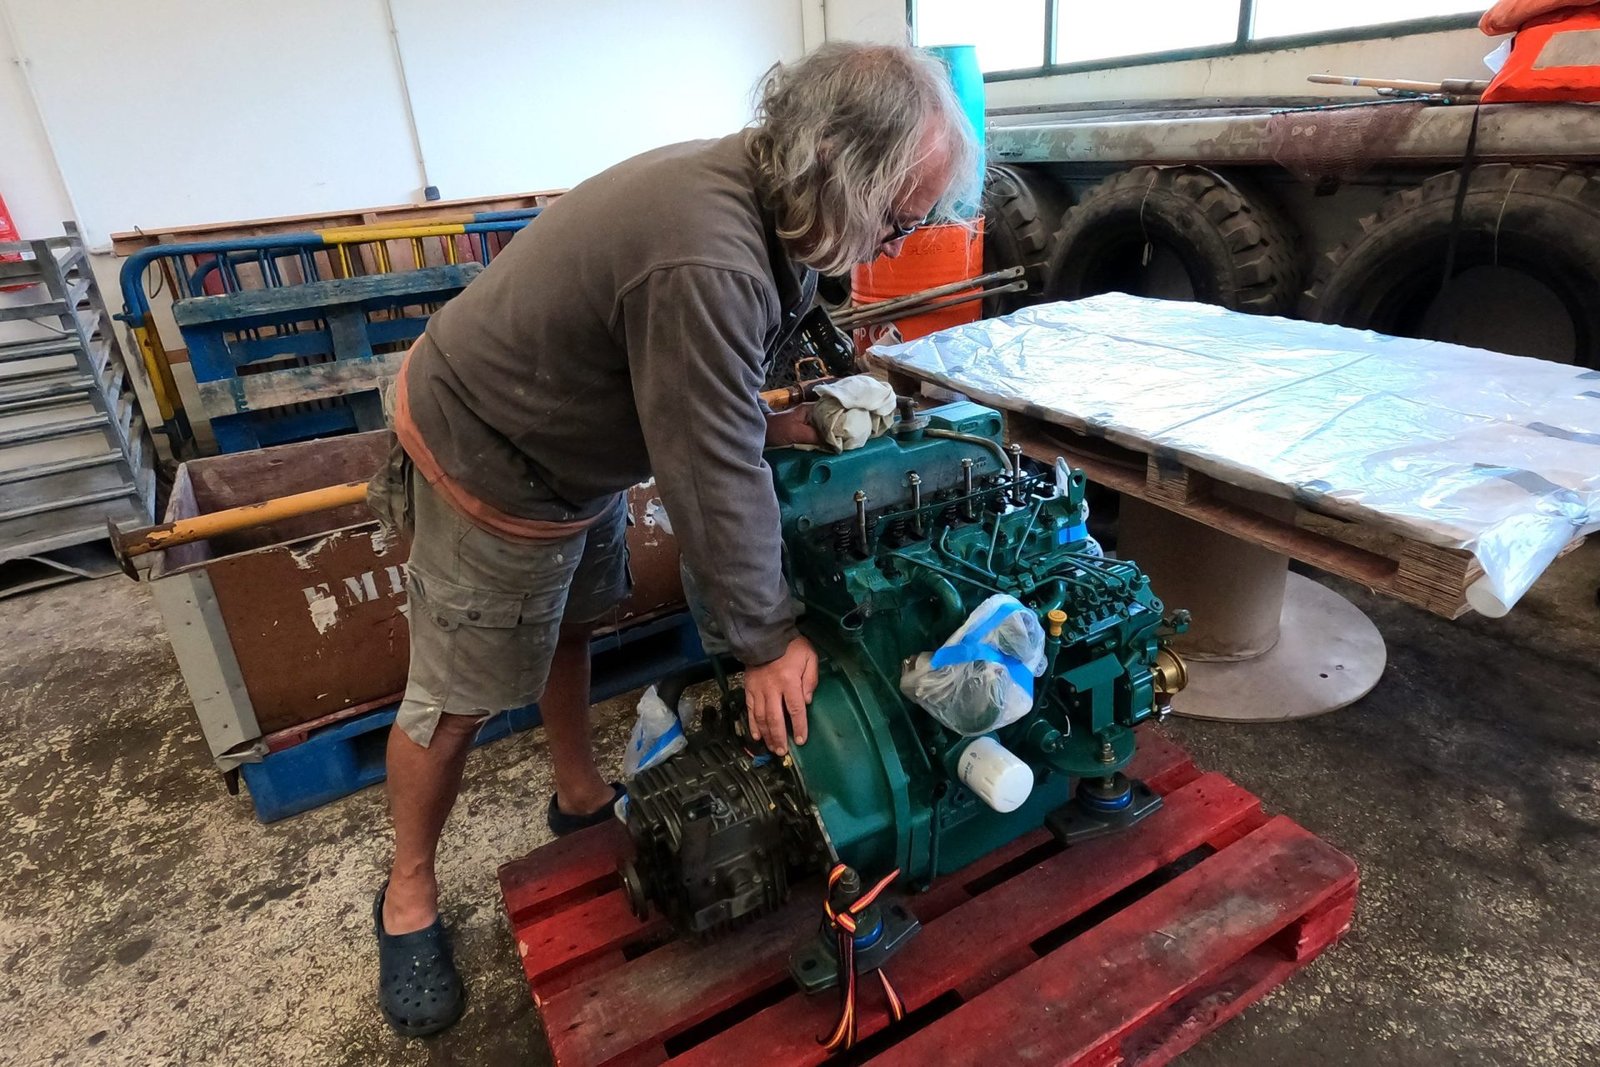
This was the biggest hurdle that we faced. We’re both practical, a skill that is extremely useful for the liveaboard, sailing lifestyle. Also, between us, we have degrees in electronic and electrical engineering. However, we lacked the mechanical knowledge needed for delving deep into an engine. Colin carries out the regular engine maintenance and has also replaced various engine parts, such as the turbo and exhaust elbow, but still, this was to be a big step beyond.
Given that the availability of local help was limited, we had to cast our help net wider. The internet and its myriad resources has mostly been our friend through this process.
Information Sources
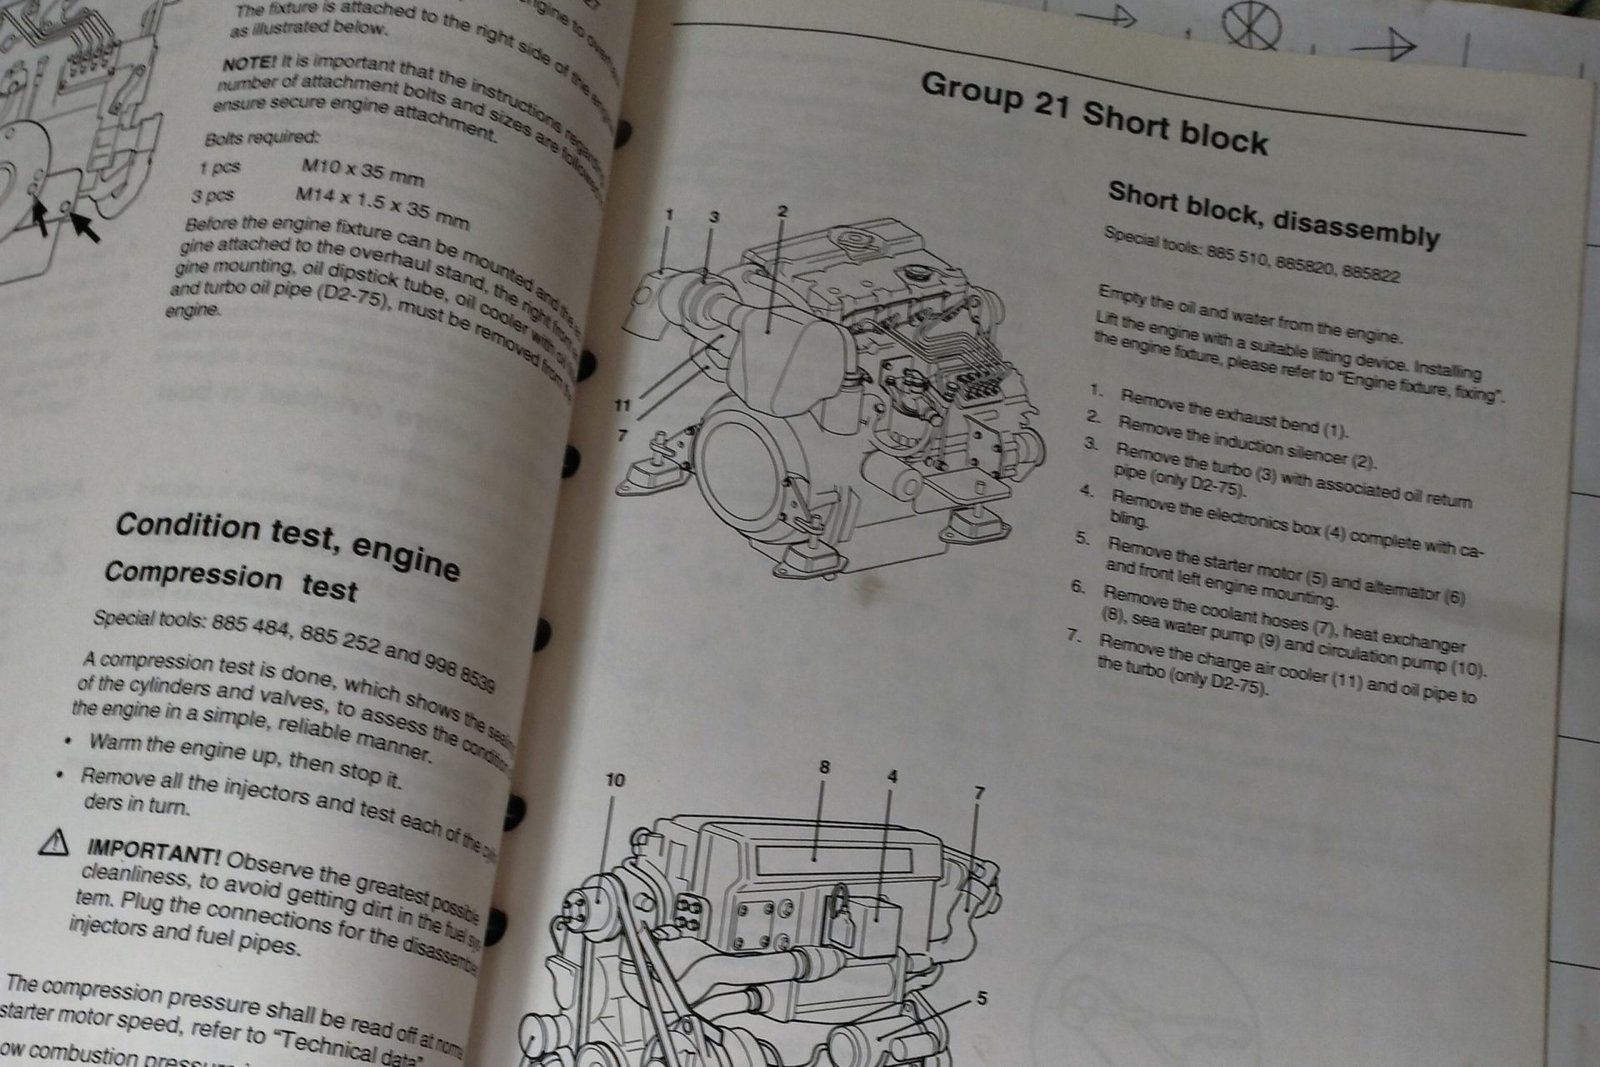
- YouTube. There are a limited number of YouTube rebuild videos for our specific engine, a Volvo Penta D2-75. However, the engine is actually a Perkins block, widely used in small industrial vehicles such as diggers. Because of this, we were able to find a lot of the information that we needed. Many skills transcend engine type too, and there are a lot of car engine people happy to share their how-tos.
- Friends and Followers. Having friends with mechanical skills and knowledge of rebuilding engines has been an enormous aid. A very big thank you for the help and encouragement you’ve given to us.
- Forums & Facebook groups. We’ve received a wealth of information and suggestions from these sources, although not without its issues. Some questions elicited conflicting responses, with certain responders becoming quite feisty when others gave opposing views. Several times we felt as if we’d inadvertently started a forum war.
- Workshop Manuals. We bought the workshop and service manuals for our engine at the time of its installation. Since then, we’ve only used the regular maintenance sections. This was the first time we’ve had to really delve deep into the books and we’ve since uncovered several errors, confusions and omissions. These kind of things really dented our confidence in the material. It also ate into our time whilst we searched for alternative sources of the information. Here’s just one example using the crankshaft bearing: the manual states that the bearing must be fitted with the oil groove on the outside half. When we looked at the old bearing which was still in place, the oil groove was on the inside half. We were confused – had the original bearing been fitted incorrectly? But in that case, surely the engine would not have run? After much searching online and using logic, we determined that the manual was in fact wrong.
Availability of Tools and Materials
We’ve had to learn even more patience than we’ve already gained from living this sailing life. We were able to find a few parts locally, but the majority we have had to have order. Delivery took between one week and six. Alternatively, we travelled to places and brought parts back with us. Emerald now has a vastly enlarged tool inventory, however we’re hoping we will never need to use most of them again.
Some tools were so difficult to obtain due to size or cost, that we improvised our own.
The Uncovering of Other Problems
It was good to find these problems before they created bigger issues, however, fixing them was a drain on time.
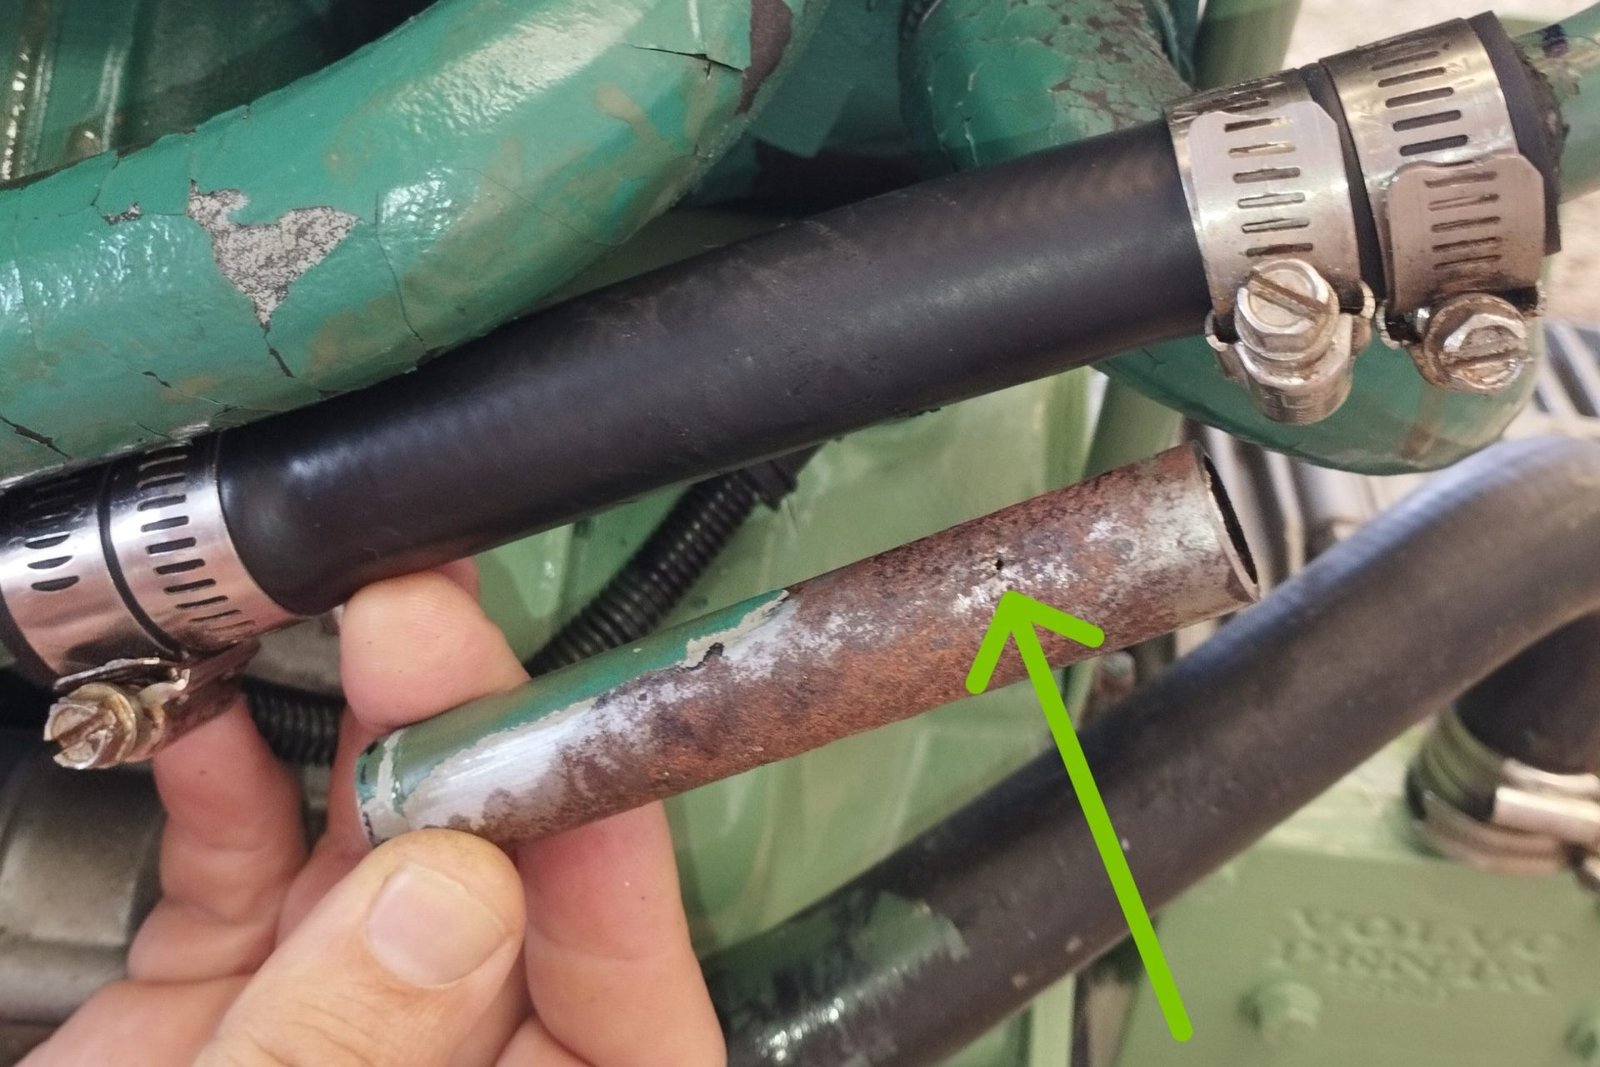
Oil Pipe Corrosion
Back in 2014 the starter motor failed as we were approaching the north coast of Sicily. The cause was salt water damage which corroded the electrical cables. Water had dripped onto the starter from a failed hose. The hose was too small for its job, but an installation engineer had forced it on anyway. This had created a fold in the hose, which eventually wore through to be a hole. The hose and starter were on the least accessible side of the engine, so we hadn’t seen it. Nor had we expected to have to be checking up on the work of engineers.
That same drip had also caused corrosion on the return oil line for the turbo. Again, difficult to see with the engine in place. The hole was tiny when we found it, but left unattended, we would at some point have had an oil leak.
So, Colin cut out the damaged section and fitted a new piece of rubber oil pipe into the gap.
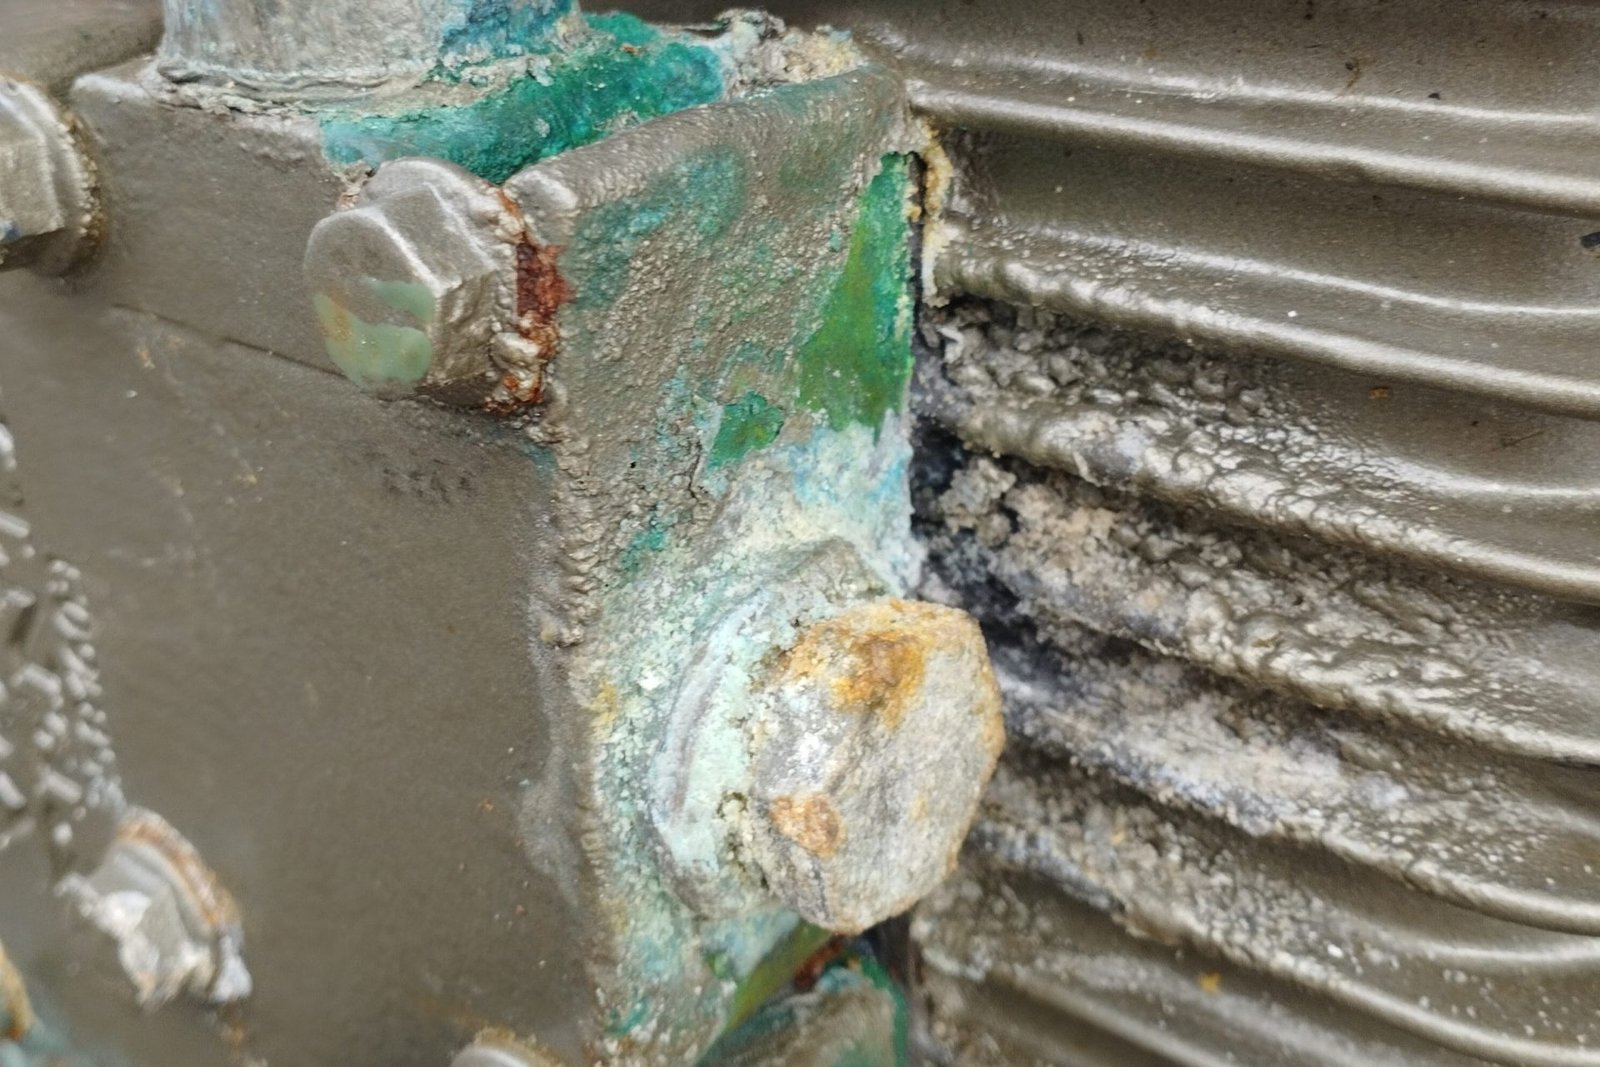
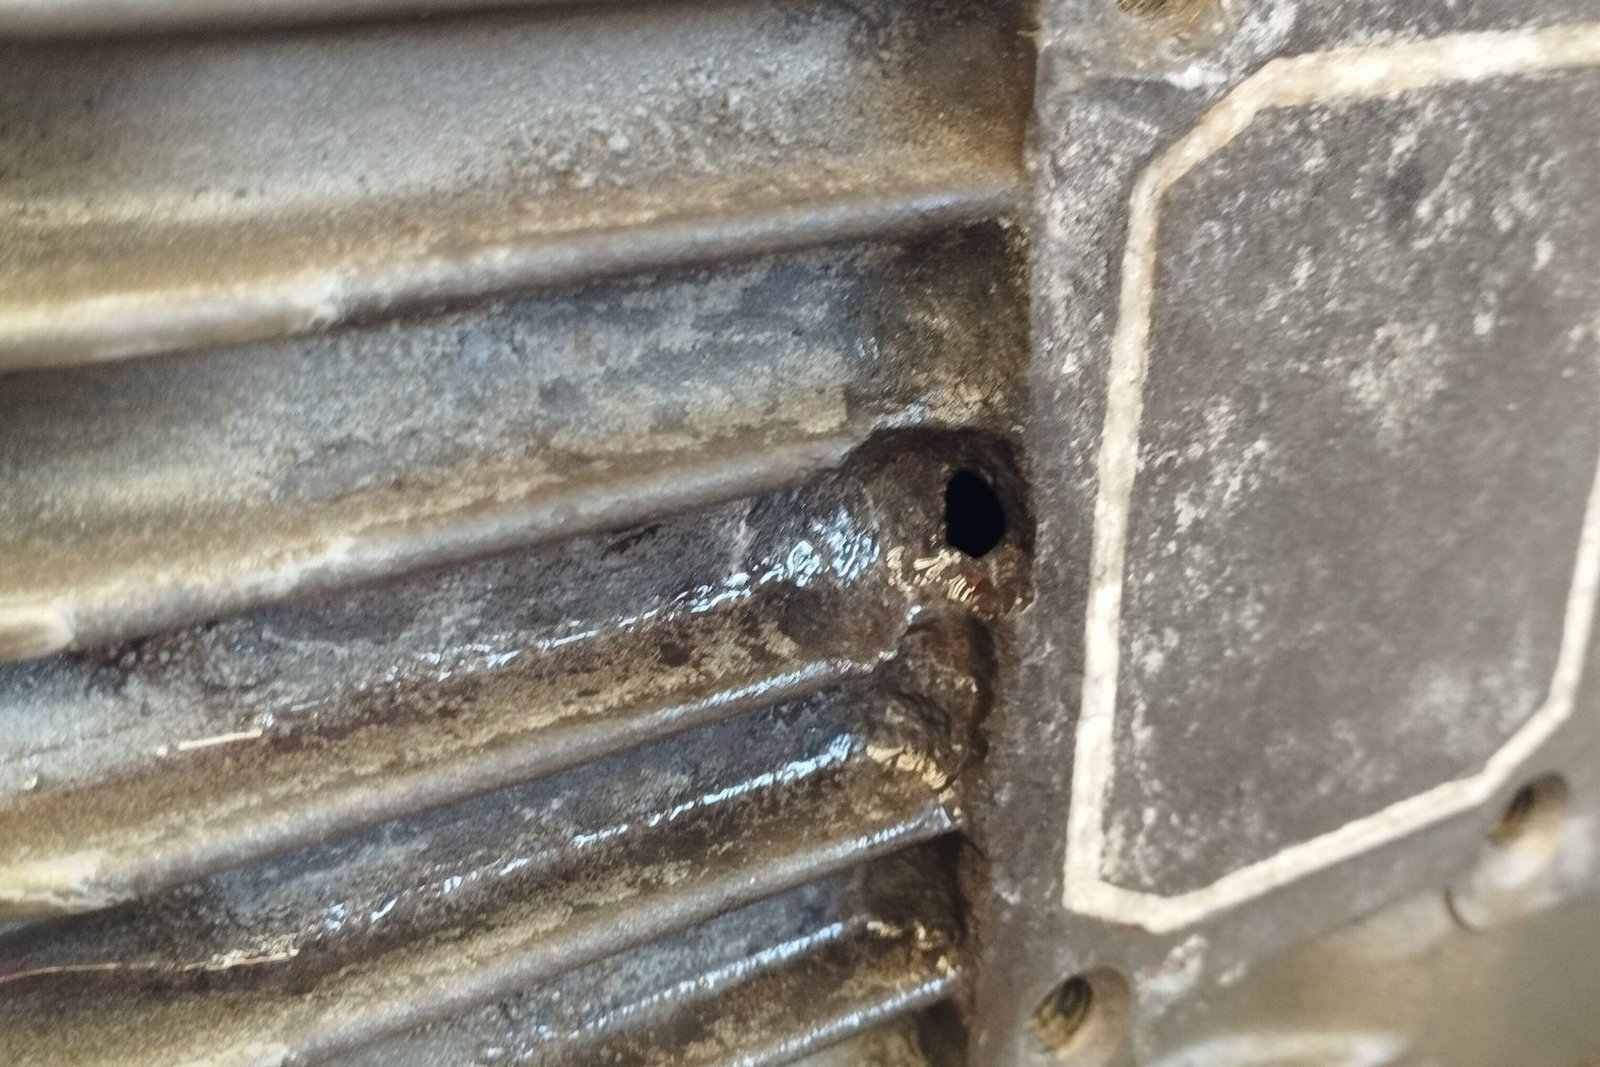
Hole in Gearbox
When we took the gearbox off of the engine, we noticed an area covered in white dust. After cleaning it off, we could see that the protective paint on the aluminium gearbox case had been damaged. This allowed dissimilar metals to come into contact with it. When this happens, aluminium corrodes into a soft powder.
Underneath the dust there was a hole. The dust had been blocking the hole, bot now we’d uncovered it, it would definitely leak gearbox oil.
It needed fixing, and we wouldn’t have been able to do it with the engine in place.
Our choice was between using a metal epoxy and welding. Welding made us and others nervous, given that the case material was thin. We could end up making the hole much worse. The JB Weld epoxy did a great job and we expect it to still be in place long after the rest of the case has fallen into disrepair.
The Stages
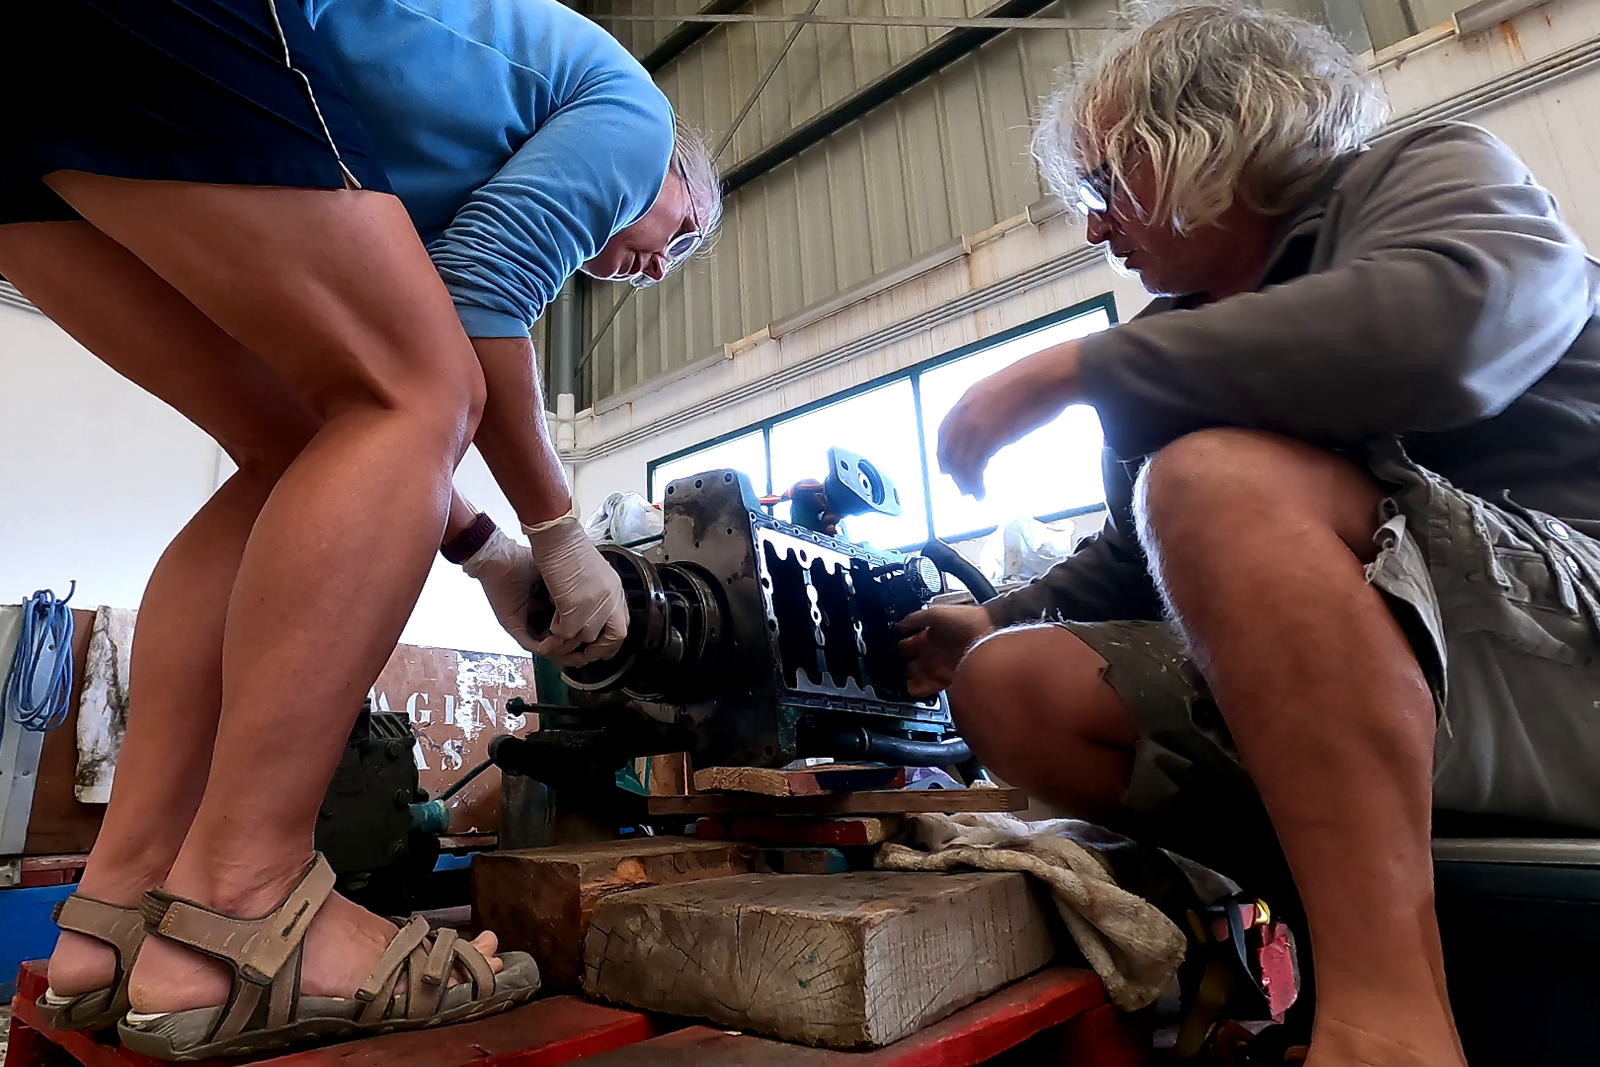
Disassembly
We followed the workflow in the workshop manual. Mostly it was a case of loosening bolts which we carefully labelled and bagged, documenting by video as we went.
Things went going relatively smoothly until it came to the crankshaft pulley. It has a nut that is tightened to 300nm, which means it would need a lot of force to loosen it.
We used the law of the lever, with a long iron bar slotted over a torque wrench. Colin pressed down on it. But the crankshaft kept turning instead of the nut. This is where a narrow length of hardwood, wrapped in a cloth came in handy. We pushed it in under the crankshaft, then we turned the crank until the wood was jammed solid. Now the pressure applied to the nut did its job and with a pop, it was loose.
Removing the crankshaft itself was also an issue due to the end bearing being rusted and stuck solid. It took a lot of hammering to get it to move. When hammering there’s a fine line between providing enough force and making sure you don’t damage anything. Luckily the only damage incurred was a bruise on Colin’s thumb.
Cleaning
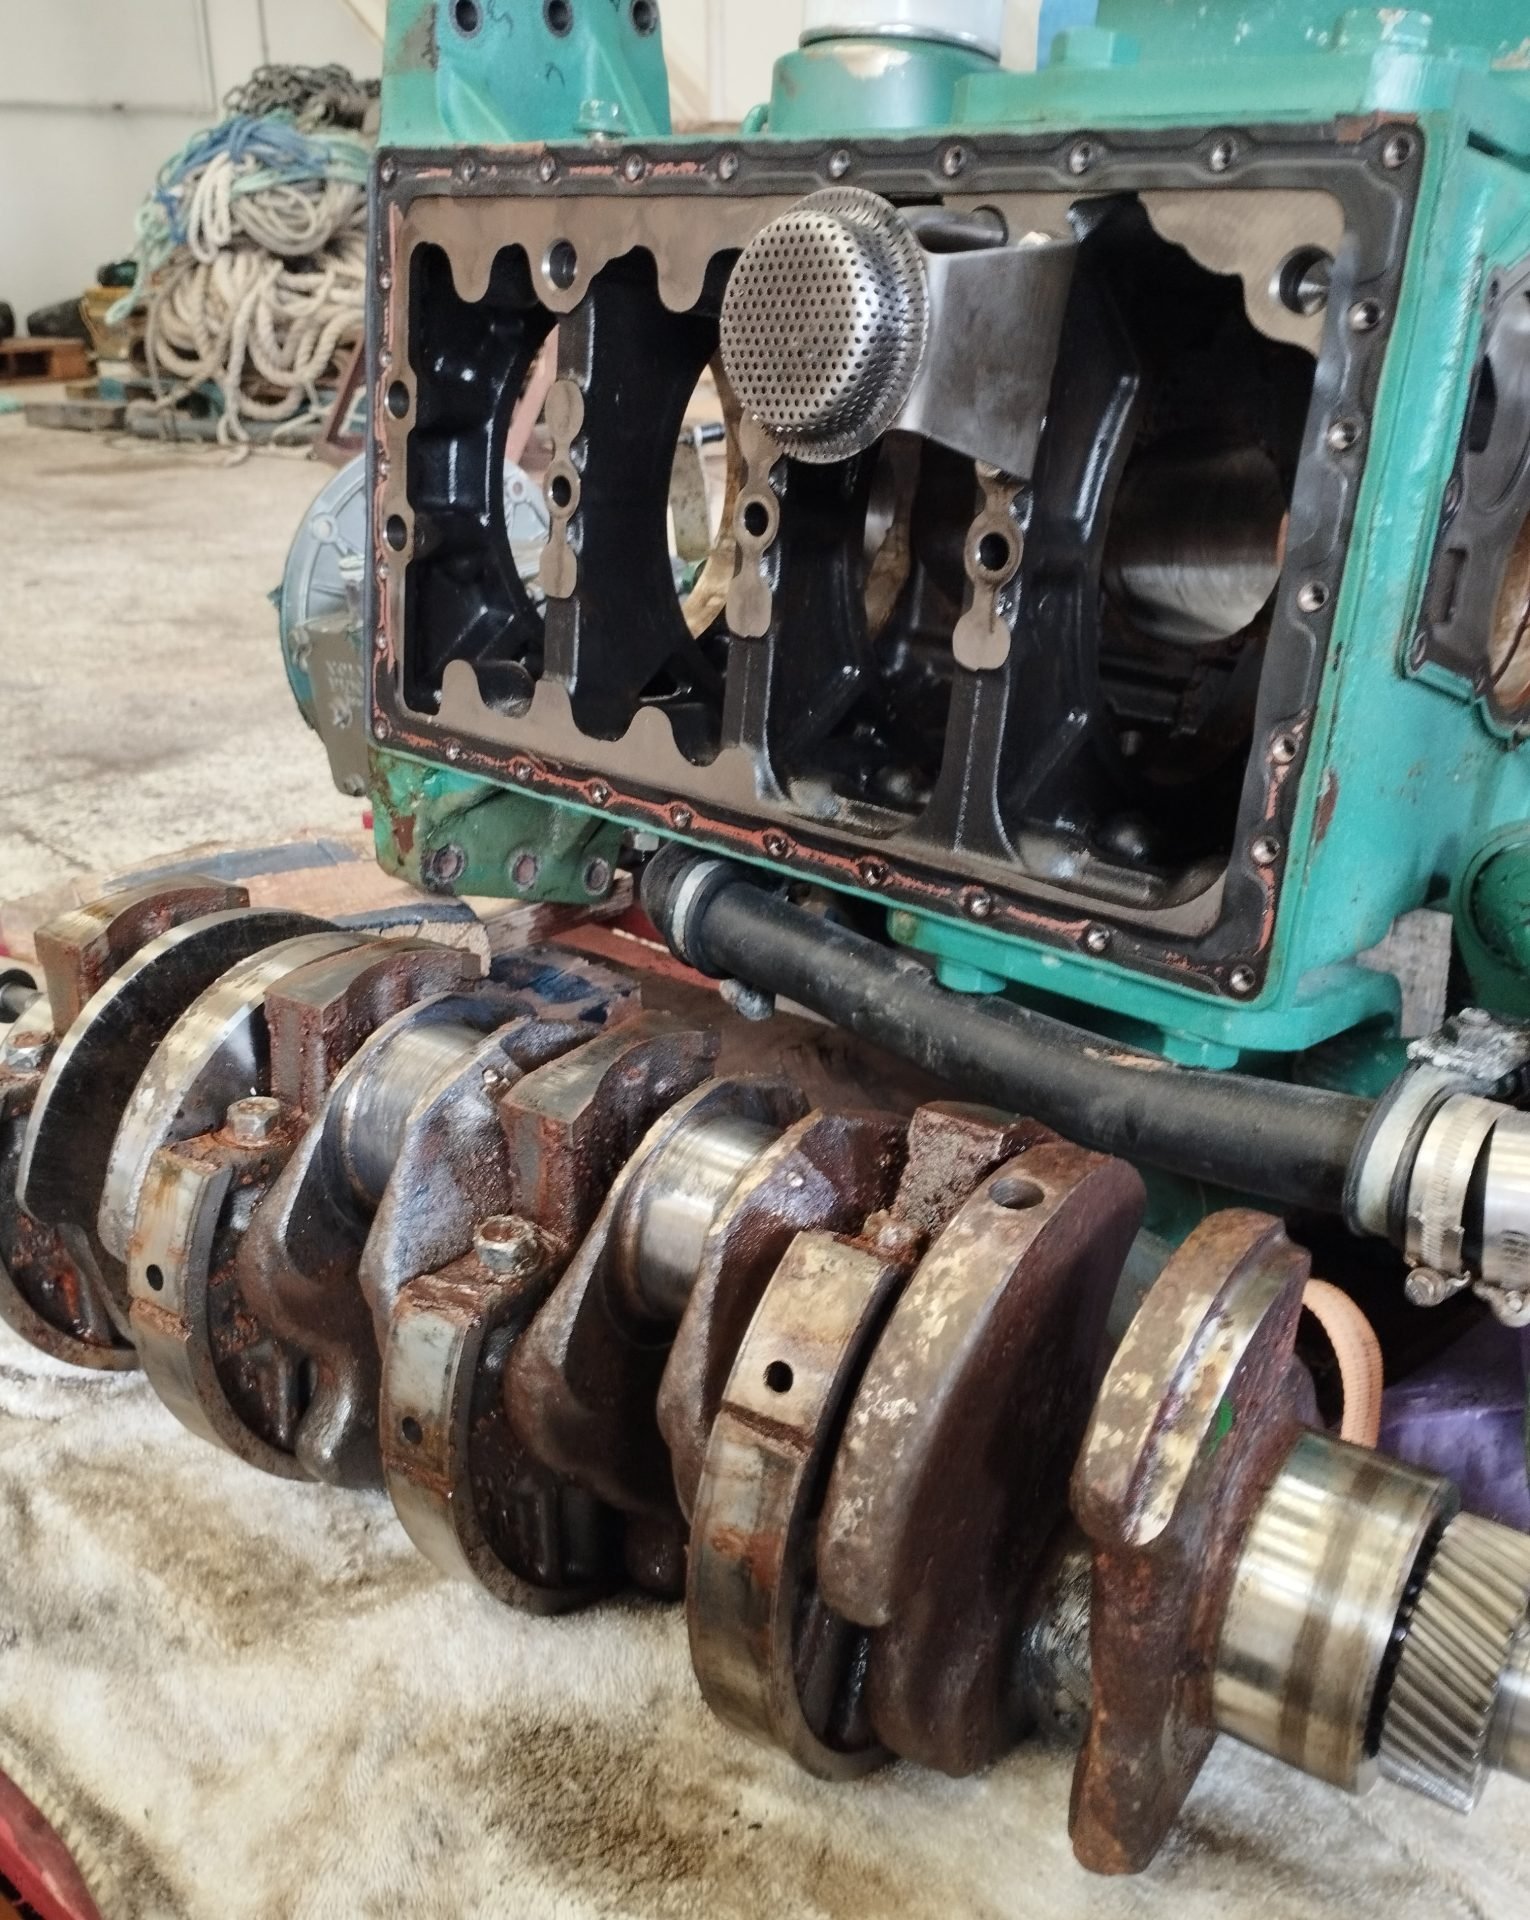
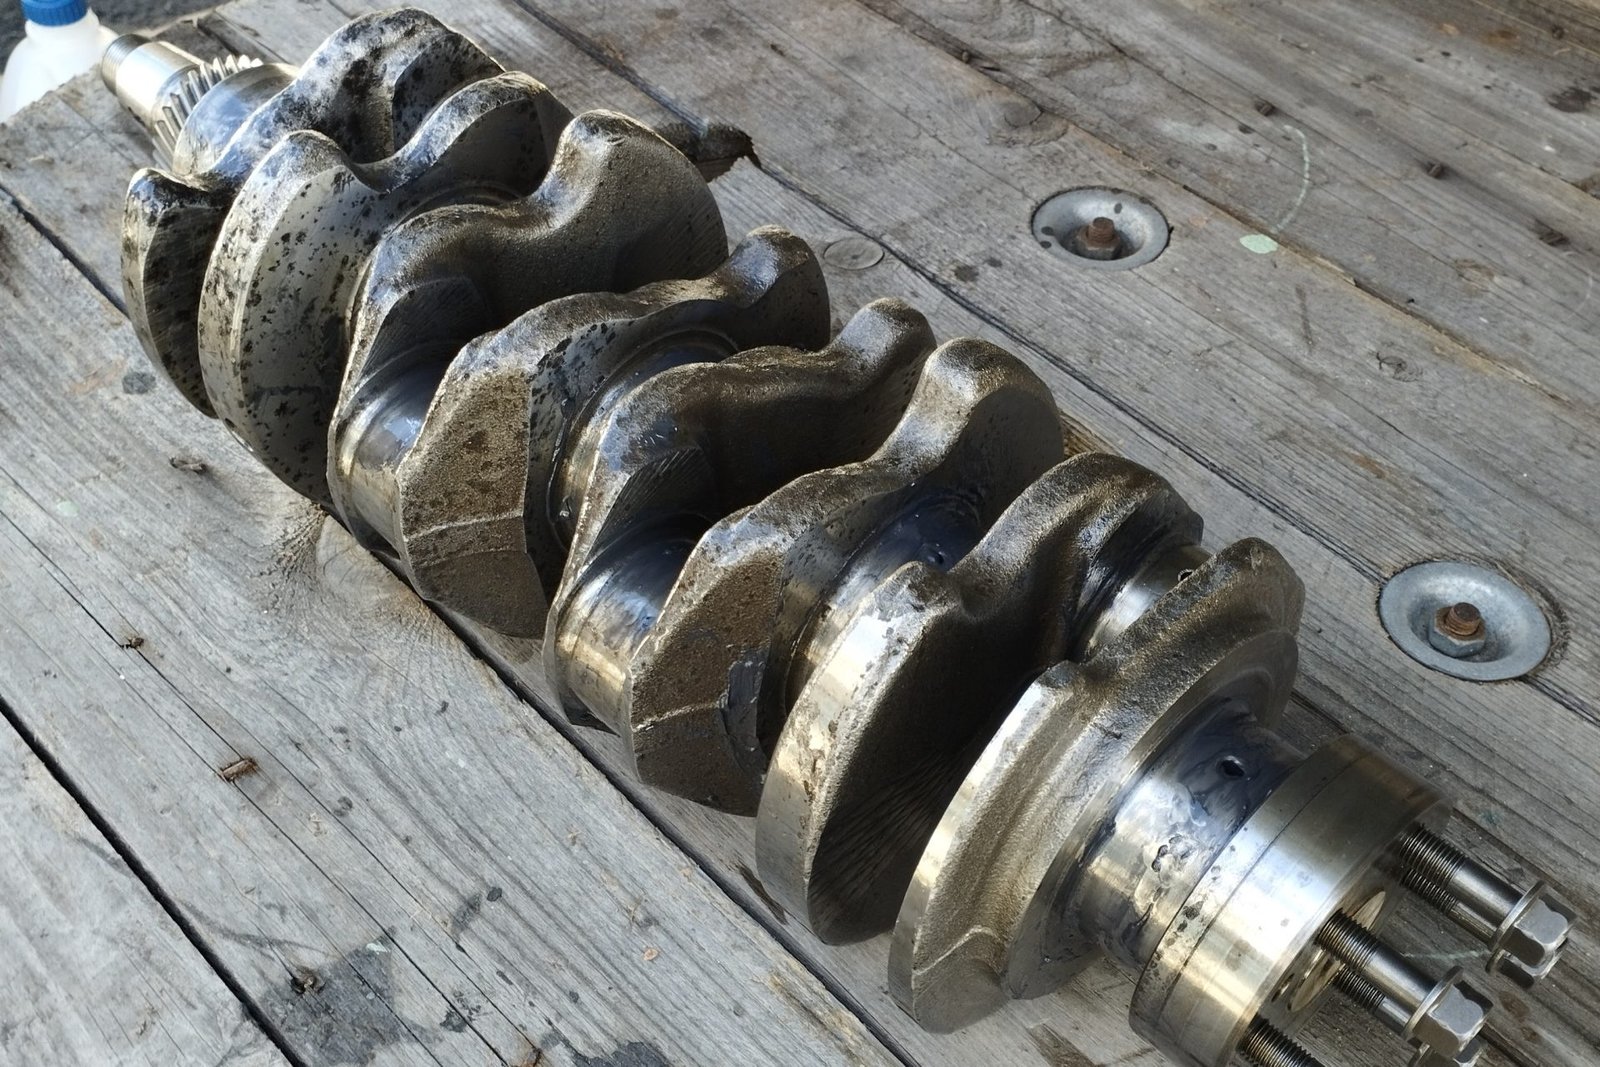
When we first saw the crankshaft, our hearts plummeted. How could something that looked so rusty ever work again? Happily, with the application of chemical warfare and good old elbow grease, it did clean up really well.
The first cleaning agent used was phosphoric acid which stopped any more rust forming. It’s a very corrosive and dangerous acid, so Colin performed this task outside, with protective clothing. He firstly poured the acid over the crankshaft and scrubbed it into the non-bearing faces using a scouring pad. Next, he rinsed it off with boiling water. Lastly, he left it wrapped and soaking in fresh engine oil for over a week to see if any new patches of rust formed.
We used WD-40, 1000 grit emery paper and the bootlace polishing technique to clean and polish the bearing faces.
Colin sparingly used the phosphoric acid inside the crank case which also had rust damage. It was clear to see from the orange stains where the majority of the water had run. Piston number one and the first counterweight on the crankshaft were the worst, so we assume that its valves were open when the water came in. The engine sits slightly on a tilt and we could see where the water had gathered and sat in the oil sump too. It’s extraordinary how much rust can form from just a few litres of salt water.

Replacement or Repair
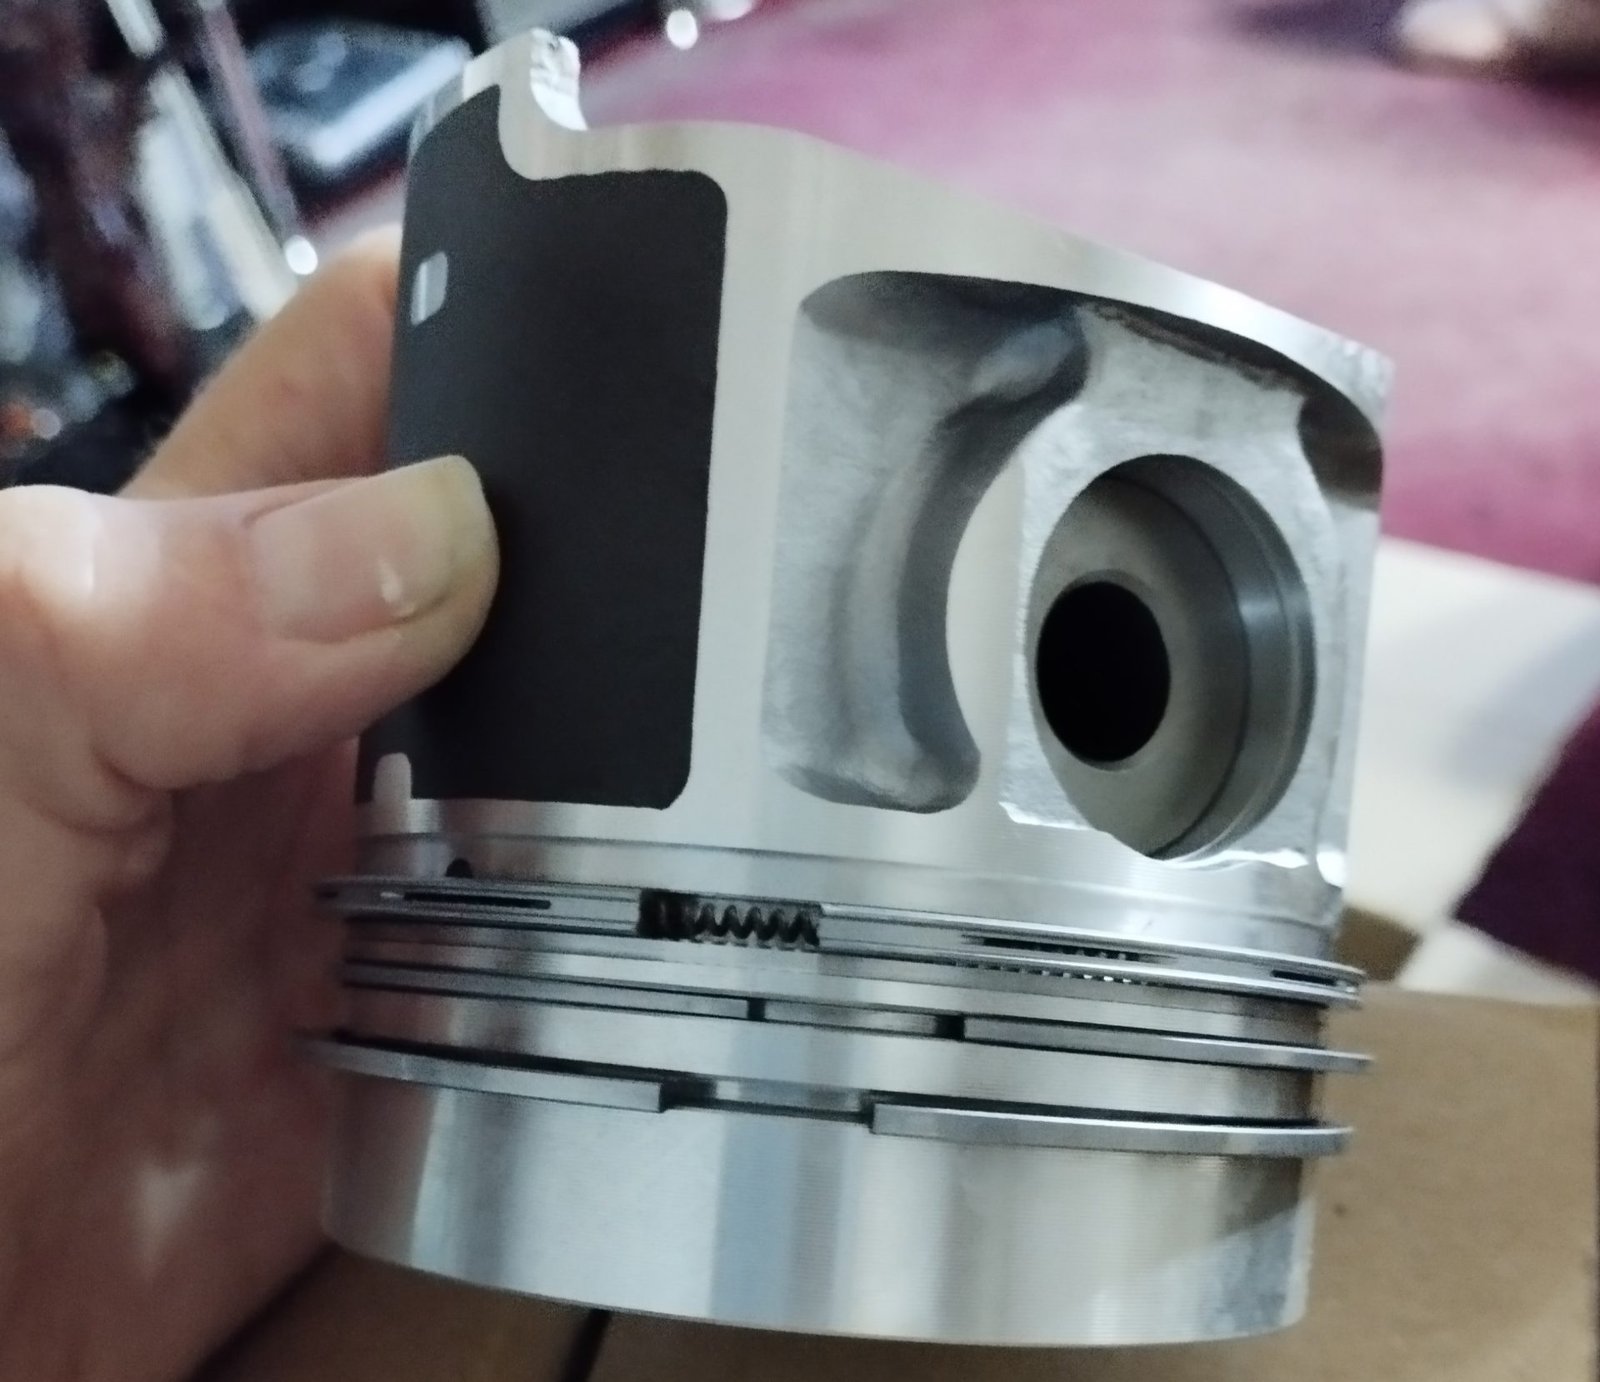
We deemed the pistons as being beyond repair, as were all the bearings. When it came to the conrods, we decided that they cleaned up well enough for reuse. We did find sources for a new crankshaft, but after a thorough clean, we judged it was good to go.
We had initially intended to reuse the oil sump and even went as far as repainting the outside. But, it had rust damage on the inside and the original paint had peeled off. We had worries about what type of paint to use here as it needed to not react with hot oil. However, our decision making was helped when Colin noticed a large indent in the bottom of the sump. The sump is made from steel, so the dink must have been caused by a sudden and extreme force. Our guess was that the engine had been dropped either during or before it was installed. Replacement seemed the sensible way forward.
Rebuild
We purchased an engine overhaul kit from parts4engines which included new pistons, bearings, and gaskets. We also replaced the oil sump.
Reaching the rebuild stage gave us a bit of hope. Taking apart felt like destruction, but now we’d turned onto the path to renewal. The next blog covers the highs and lows of the rebuild.
The Social Media Bit: Want to Follow Us?
Thank you for reading this far, we really appreciate it. If you’ve enjoyed our site or found it useful, please consider a donation via the DONATE button below. We’re grateful for anything you can spare!
If you’d like to follow us on other social media platforms (Facebook, Instagram and YouTube), you can do so by using these links:
Or use the link below to track our voyage on NoForeignLand.com.
And finally, you can sign up to receive email notifications of new blogs using the subscribe box at the bottom of this page.
Thank you from Nichola & Colin